
iPhone as a Voice Recorder: How to Record Voice the Easy Way
Your iPhone is already a great voice recorder. It’s always with you, it starts recording in one tap, and the built-in mic is good enough for everything from quick ideas to full meetings.
In this guide, I’ll show you exactly how to do voice recording on iPhone, how to make recordings easier to manage, and how to turn them into clean, usable notes when you’re done.
The simplest method: record with Voice Memos
If you want the most straightforward option, use Apple’s built-in Voice Memos app. It’s reliable, free, and already installed on your iPhone.
You can use it for:
- quick thoughts on the go
- voice journaling
- meeting recordings
- interviews
- reminders to yourself
And once you get used to it, your iPhone becomes one of those tools you quietly rely on every day. This is the “default” way to voice record on iPhone, and for most people it’s all you need.
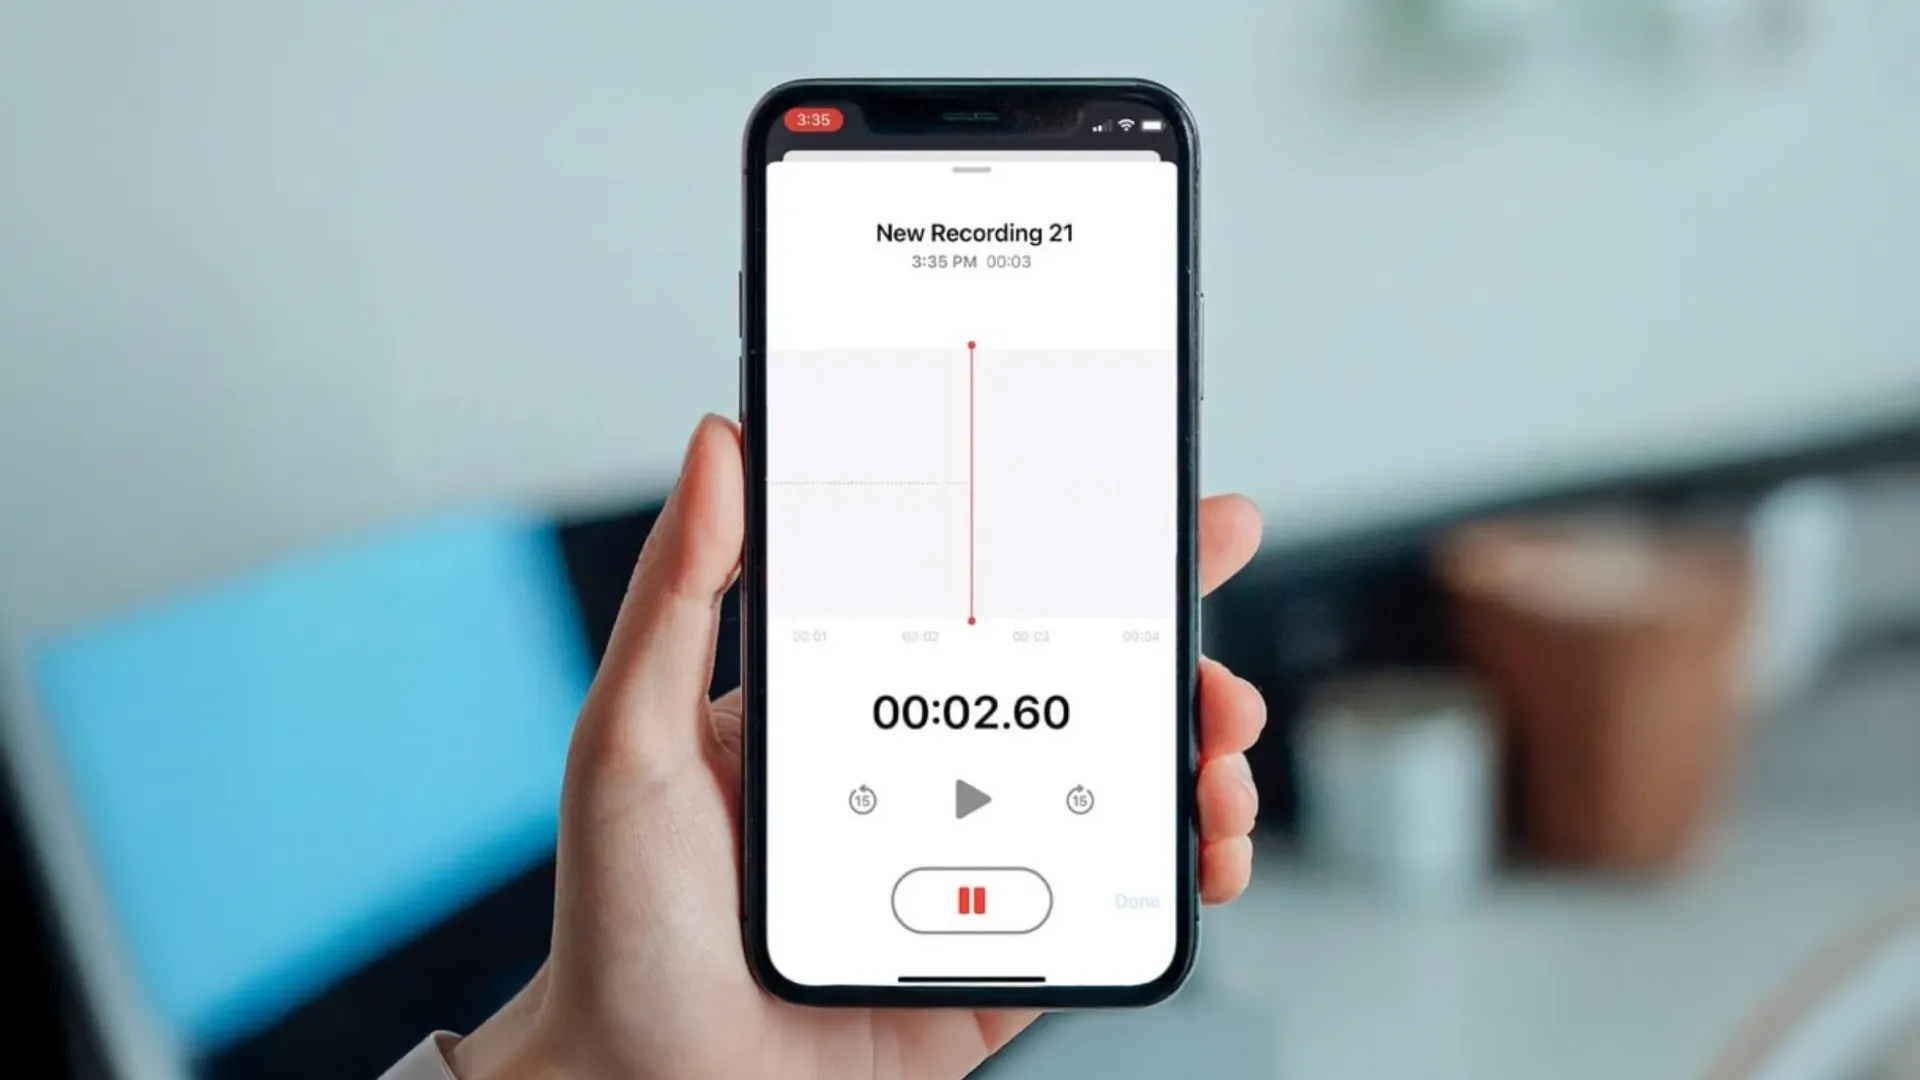
How to make a voice recording on iPhone (step by step)
- Open Voice Memos.
- Tap the Record button.
- Speak normally.
- Tap Stop when you’re done.
- Tap the recording name to rename it.
That’s it. You’ve done voice recording on iPhone.
Faster access: start recording from Control Center
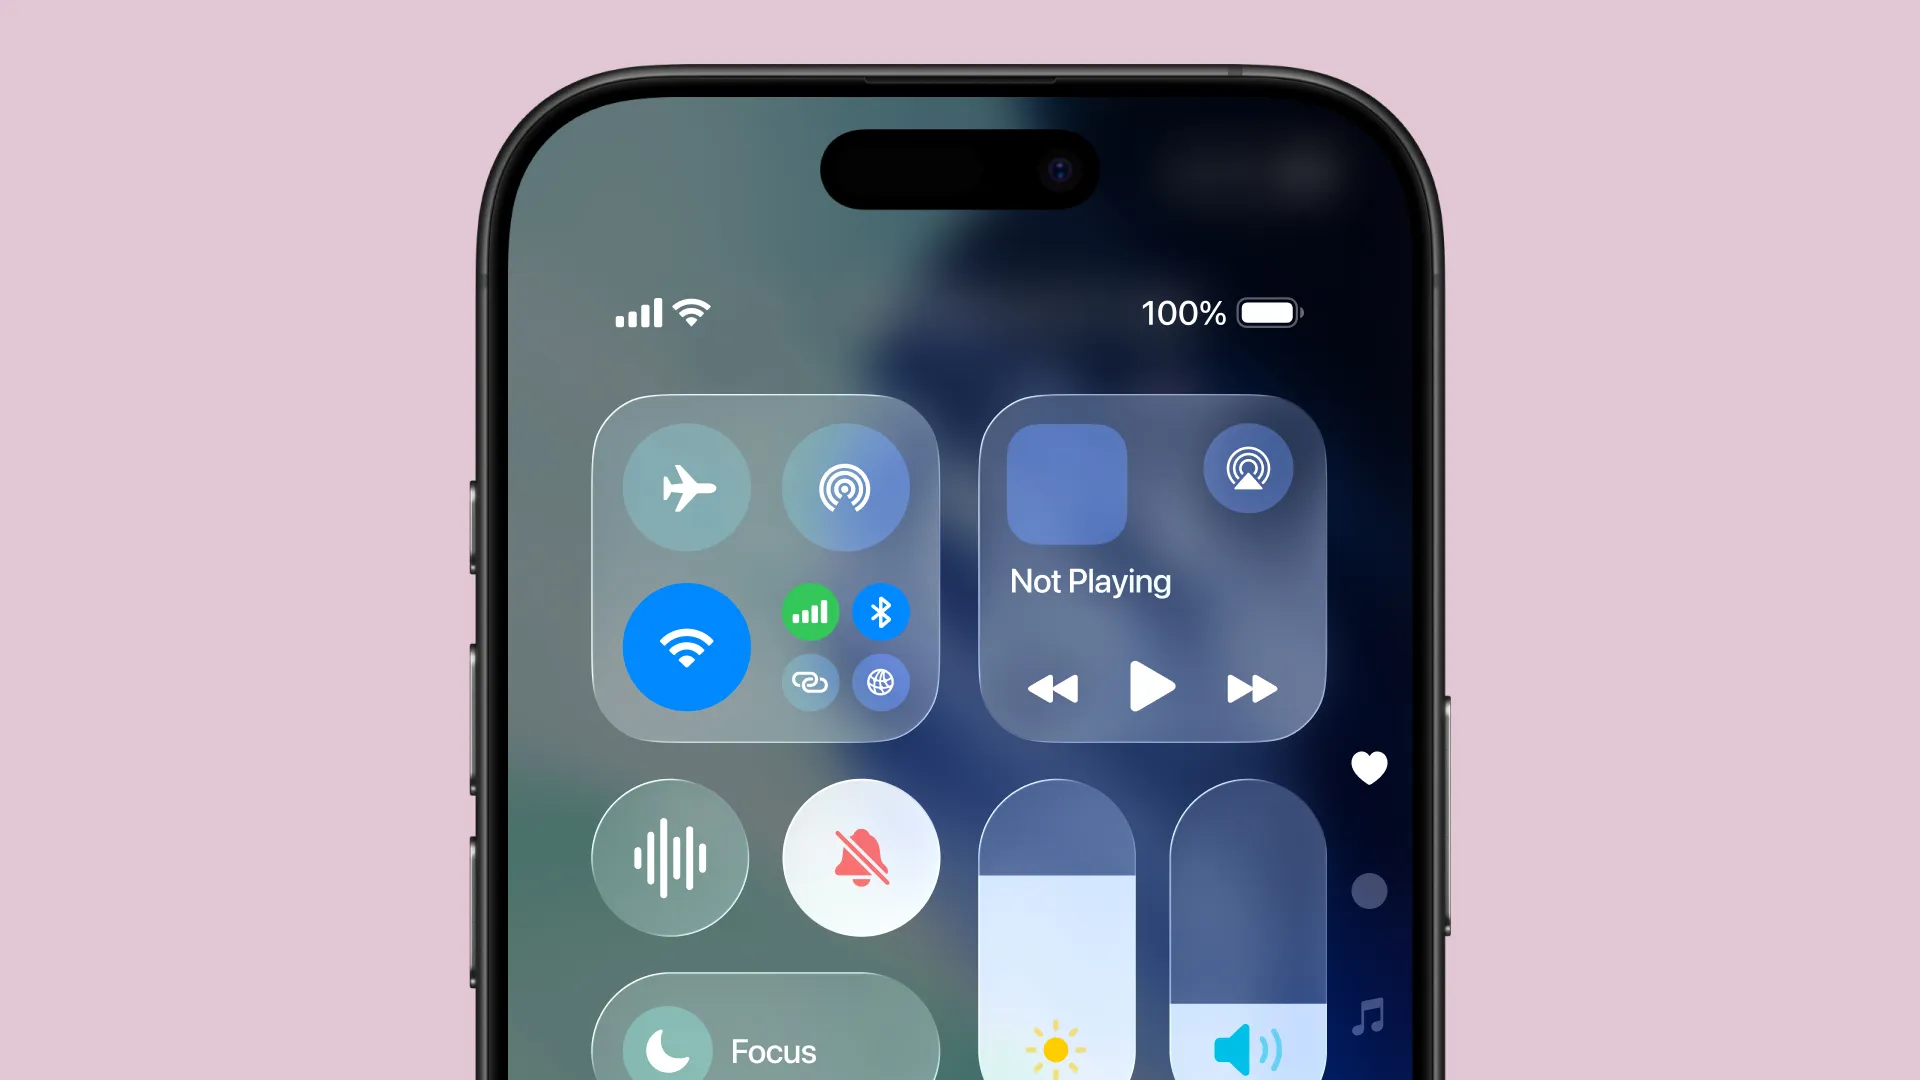
If you record a lot, opening Voice Memos from the Home Screen can feel like an extra step. With Control Center, it’s instant.
Add Voice Memos to Control Center
- Swipe down from the top-right corner.
- Tap and hold in the empty space.
- Tap the
+(Add a Control). - Find Voice Memos and add it.
Now you can swipe to open Control Center and launch Voice Memos in seconds. If your best ideas show up while walking, cooking, or commuting, this is the easiest way to catch them.
Get better sound with zero extra effort
Most recording problems aren’t about apps. They’re about the environment.
Here are a few simple fixes that noticeably improve quality.
✅ Keep the iPhone at a consistent distance
Hold it too far away, and your voice becomes thin. Hold it too close, and you can get harsh pops.
A good default:
- speak at a normal volume
- keep the phone roughly at arm’s length or on the table nearby
✅ Reduce background noise (the easiest win)
If you can, move away from:
- running water
- loud streets
- wind
- cafés with music
Even a small change like turning your body away from noise helps.
✅ Use AirPods or a mic if you already have them
You don’t need extra gear, but if you already use AirPods, they can give you cleaner speech in some situations.
This is especially useful for:
- walking outside
- recording in windy areas
- quick voice notes while you’re moving
✅ Recording a meeting? Place the phone intentionally
If the phone is in someone’s hand, the audio will change constantly. If it’s buried under papers, it’ll sound muffled.
Better approach:
- put it on a stable surface
- keep it near the center of the table
- start with a quick “who’s here” if you want context later
Manage your recordings so they don’t become a mess
Recording is easy. Finding the right one a week later is the hard part. Here are a few simple ways to keep your voice memos tidy and easy to search.
✅ Use clear names and consistent patterns
Your iPhone will name recordings like “New Recording” with a date or location. It works, but it gets messy fast.
Right after recording, rename it to something you’ll recognize later:
- “Team sync Jan 16”
- “Idea: onboarding email”
- “Doctor notes”
- “Groceries + dinner plan”
To rename a memo, tap the recording, tap its current name (for example, “New Recording”), type a new name.
You don’t need perfection. You need something searchable.
✅ Favorite the important ones
If something matters, mark it right away. Otherwise it disappears into the scroll.
To favorite a recording:
- Tap the recording you need
- Tap the … menu, then choose Favorite.
You can also swipe left on the recording, tap the … menu, and select Favorite.
That’s it. You’ll now see your starred memos in the Favorites folder.
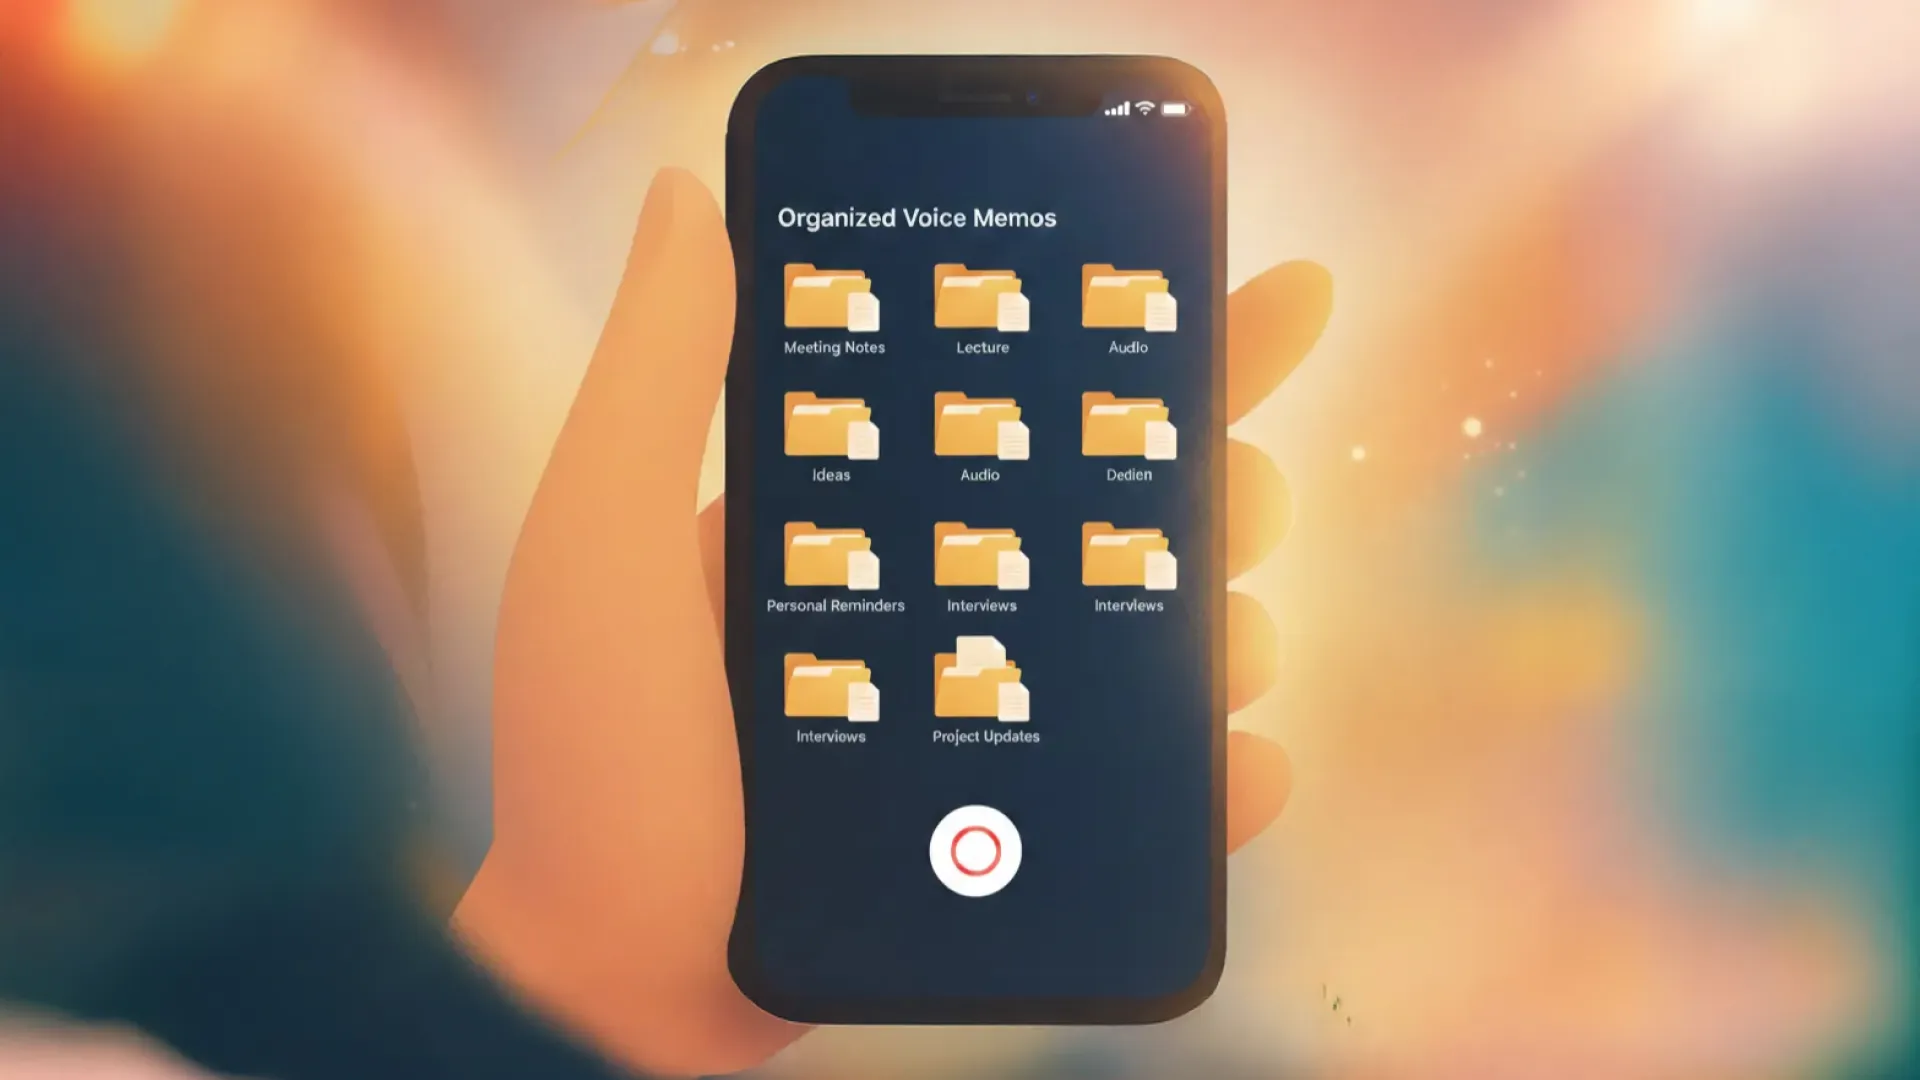
✅ Create folders
If you use Voice Memos for different purposes, create separate folders for each type of recording. It keeps everything cleaner and makes the right memo much easier to find later.
To create a folder:
- Open Voice Memos and tap Back to open the Folders list.
- Tap the New Folder icon in the bottom-right.
- Name your folder, then tap Save.
✅ Share or export when you need to use it elsewhere
At some point you’ll want to:
- send a recording to someone
- save it to Files
- upload it to a tool for transcription
- move it to your laptop
Voice Memos sharing covers most of that. The goal is not to keep everything trapped in one place.
From iPhone recording to finished notes with Letterly
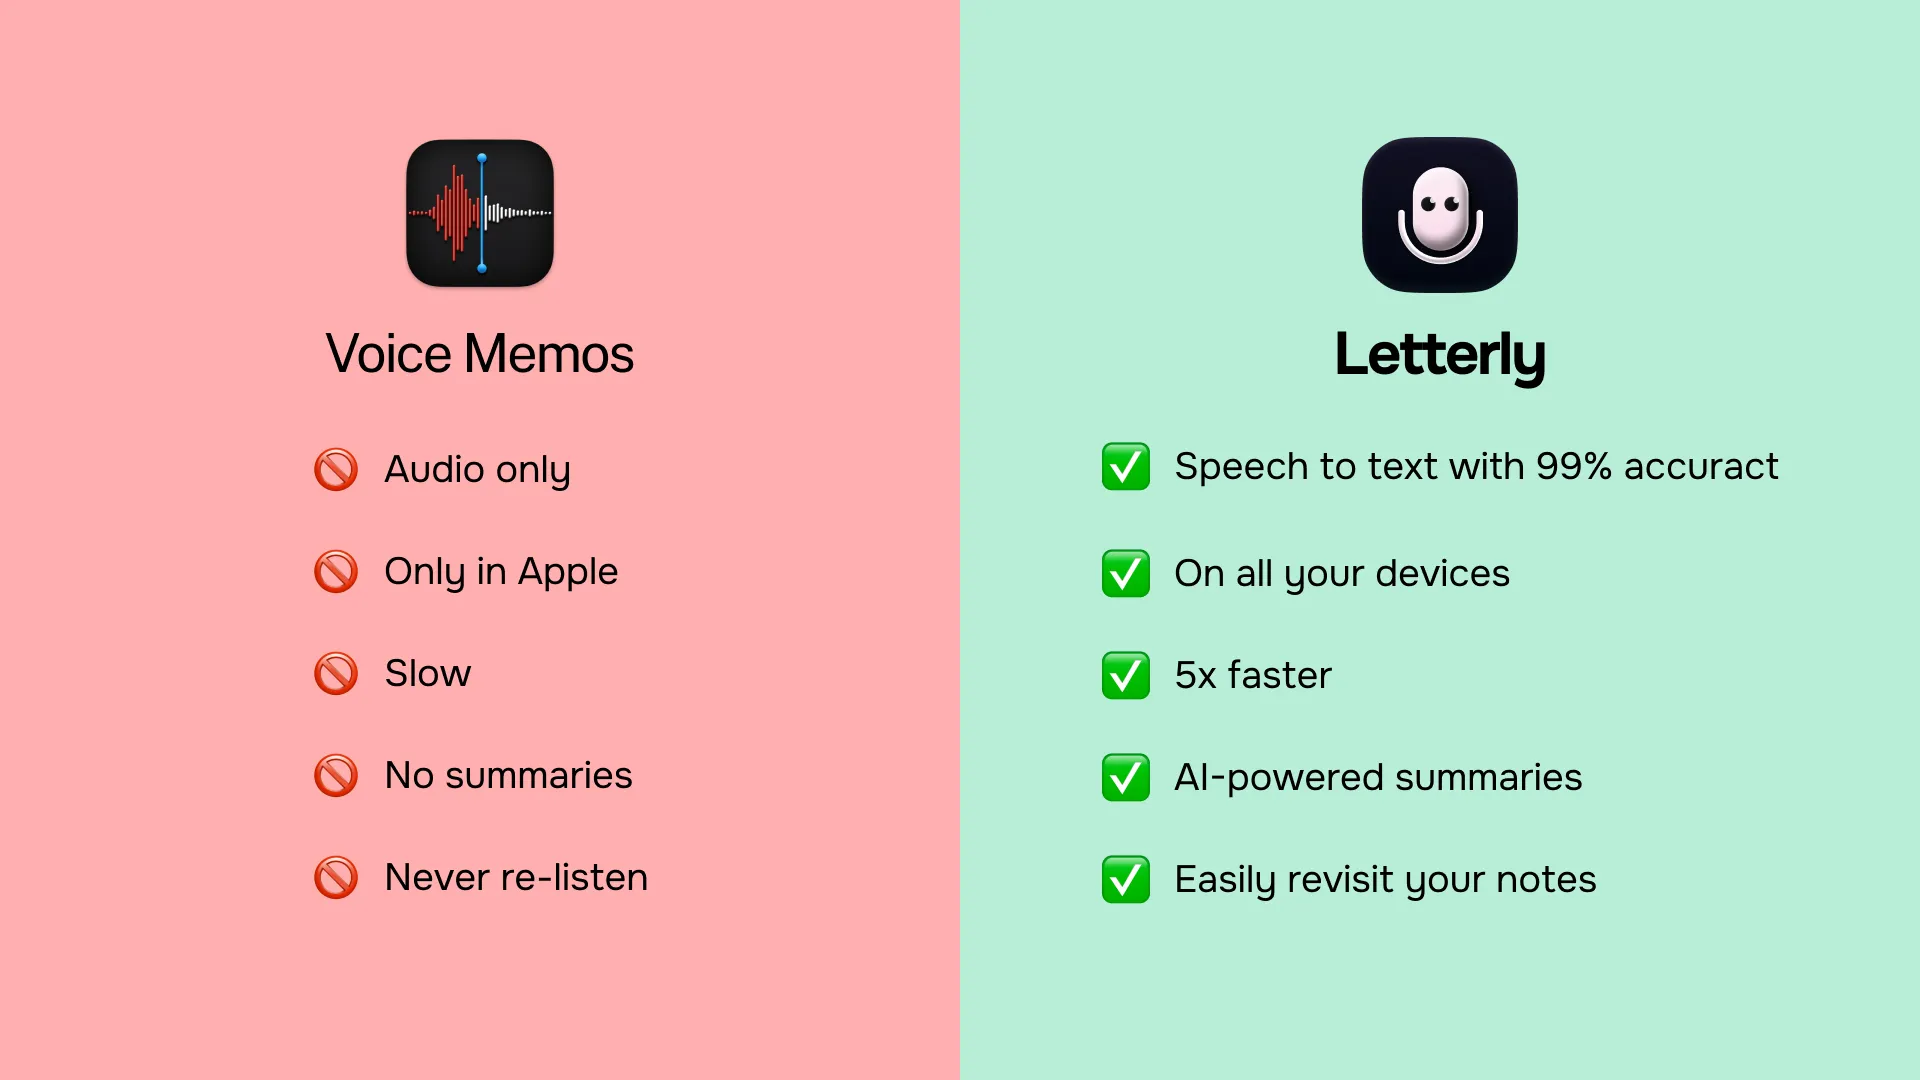
A recording is great in the moment. But if you want to reuse it, share it, or turn it into action items, text is usually the end goal.
A plain transcript is a start, but most people actually want something like:
- a clean summary
- a list of decisions
- action items with owners
- a structured outline
- a draft message or email based on what was said
That’s where tools focused on “voice to usable text” become helpful.
If your workflow ends at “I recorded it,” you’re leaving value on the table. The real magic is turning that audio into something you can read, share, and act on.
With Letterly, you can take a voice recording from your iPhone and turn it into:
- clean, readable text
- structured notes (headings, bullets, action items)
- rewritten versions depending on what you need (summary, plan, email draft, etc.)
How it feels in practice
Instead of:
- scrolling through audio files
- trying to remember what you said at minute 7
- replaying the same part three times
You get:
- a clear text version
- a “cleaned up” version that reads naturally
- a structured version that looks like proper notes
Helpful when you upload longer audio
If you upload a conversation or meeting, Letterly can also separate by speaker, which makes the result much easier to follow.
This is especially useful for:
- interviews
- meeting recordings
- coaching sessions
- any back-and-forth conversation
With the right tools and a few simple tips for voice recording on iPhone, you can use your iPhone as a voice recorder today and turn your recordings into clean notes without spending your evenings replaying the same minute over and over.
Got more questions? Email us at hi@letterly.app – we’re happy to help.